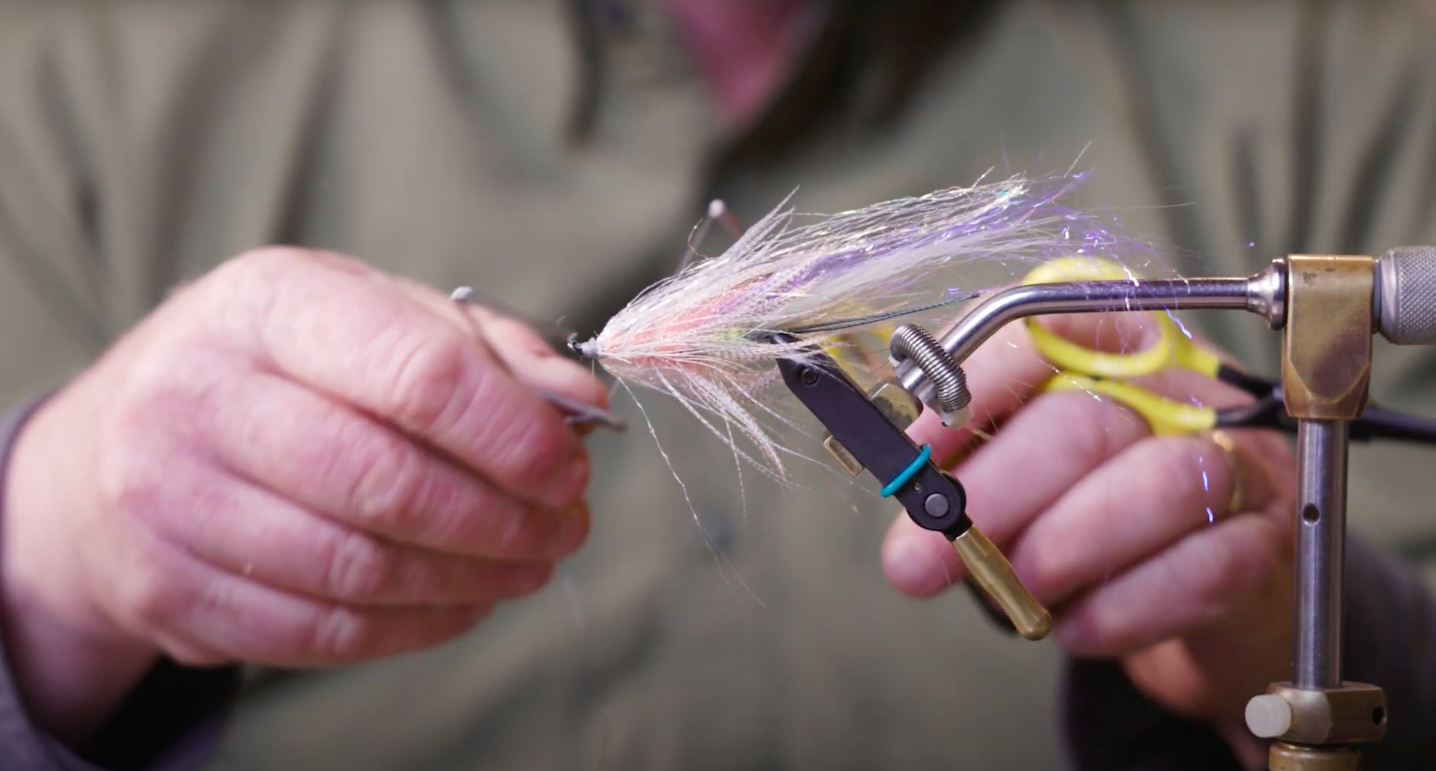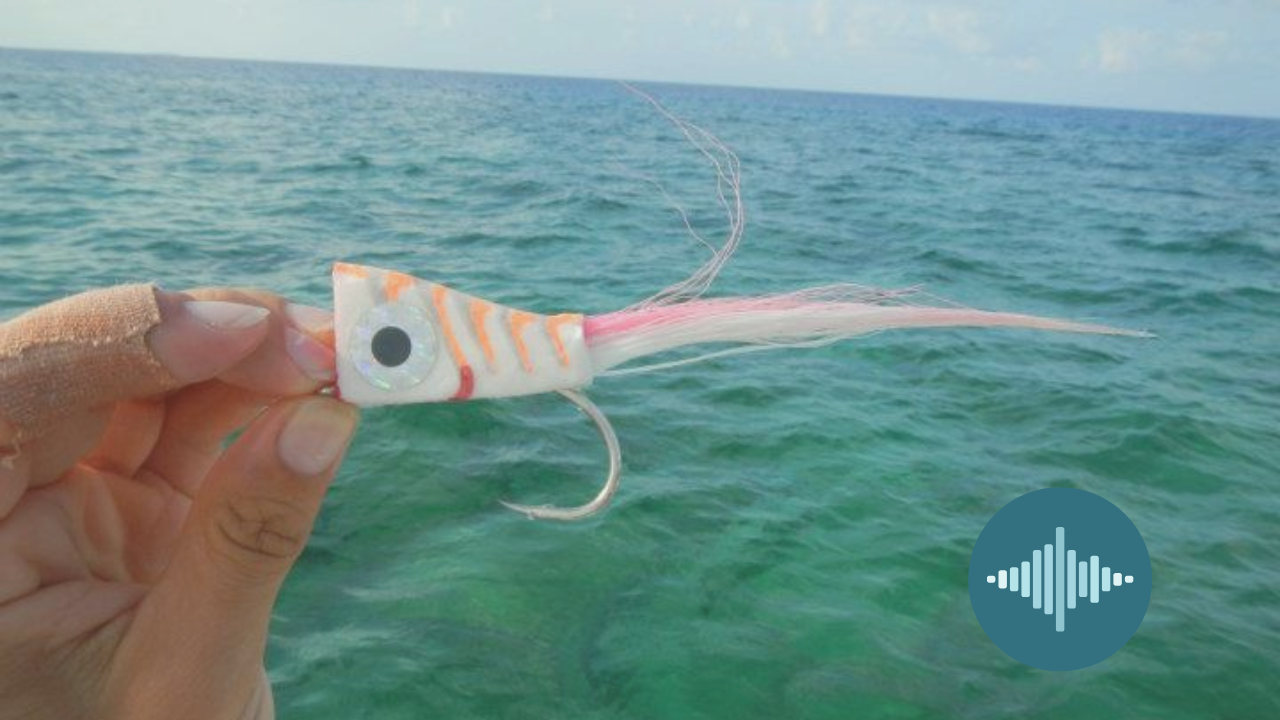
Fly tying can feel intimidating when you first start out, especially when you move into more detailed patterns. Their design separates the hook from the body, which extends the life of each fly and allows for quick adjustments on the water. In today’s article, we’re drawing on April Vokey’s expertise to walk through a step-by-step guide to tying a basic tube fly. So, let’s get right into it.
Setting Up The Tube And Thread
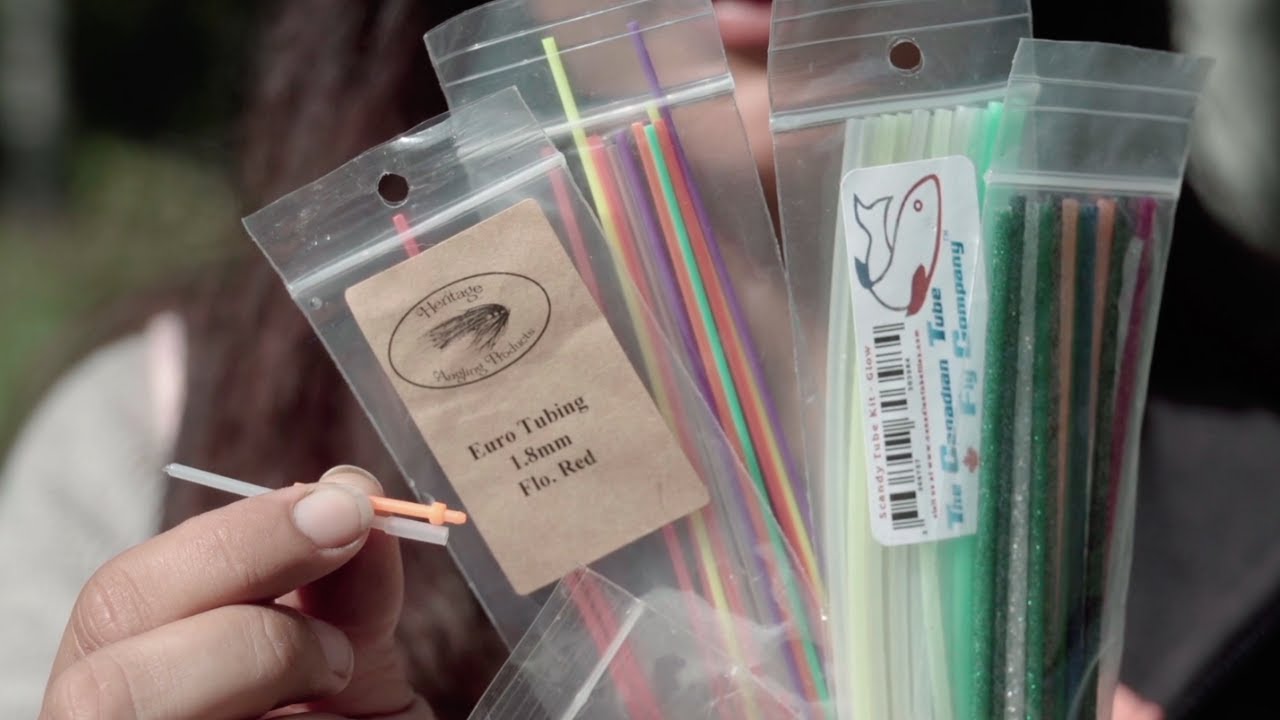
Getting your foundation right is the key to a solid fly. A secure tube and clean thread base make every step that follows much easier. Let’s go through the setup process:
- Cut the tube: Snip a short section of tubing and slide it onto your adapter, pushing it down until it’s snug. This ensures the tube won’t roll once you begin wrapping.
- Secure in the vise: Insert the adapter into your vise and tighten so the tube stays stable.
- Choose the right thread: Both round and flat threads exist, but flat thread grips better and helps lock materials in place.
- Think about color: Thread color is flexible. You can tint it later with a fine marker. For beginners, light shades like tan or cream are handy because you can mark proportions directly on the tube.
- Break off the tag cleanly: Skip the scissors. Wrap the tag around your finger a couple of times, then pull sharply, like removing a band-aid, for a quick, clean break.
Building Volume With A Dubbing Loop
The first step in shaping the fly is creating volume. Using natural fur like arctic fox ensures the body holds shape in current without collapsing, while also keeping the fly light. Tail patches provide the best density, while strips tend to be too sparse. Here’s how to build a dubbing loop that adds the right amount of body without unnecessary bulk:
- Prepare the fur: Cut a small pinch of arctic fox close to the hide. Align the butt ends (not the tips) so they sit evenly.
- Form the loop: Drop your thread down, hook it around your finger, and bring it back up to close the loop.
- Insert fibers: Place the fox fur ends into the loop, keeping them flush. For extra hold, apply a touch of dubbing wax, chapstick, or even saliva.
- Twist and secure: Attach a weighted dubbing twister and spin until fibers are locked in. If clumps form, tease them apart with a bodkin or safety pin before adding a few more turns.
- Wrap forward: Palmer the loop up the tube, always sweeping fibers back with each turn so they sit neatly side by side.
- Final touch: Pick out any trapped hairs with a bodkin and check that you can still see thread between fibers. This is a good sign you haven’t overdressed.
Adding Extra Texture And Sheen
A touch of flash or dubbing can make a fly look more lifelike in the water. The goal is to add subtle shine without creating unnecessary bulk. Here’s a simple way to do it:
- Pinch a small amount of dubbing or flash material.
- Tie it in at the midpoint with one wrap.
- Fold the forward ends back and down.
- Secure with three tight thread wraps.
Overlaying With Rhea
To extend the length and improve movement, an overlay is added. Rhea is a durable and lively choice that creates a strong profile. Follow these steps for a clean tie-in:
- Cut 7–10 rhea fibers close to the stem.
- Bunch the butts, pull out short fibers, and keep tips aligned.
- Stack four clumps: Top, bottom, left, and right.
- Use your thumbs to shuffle each clump so it spreads out, not clumps together.
- Secure each clump with three wraps of thread.
- For smaller flies, trim fibers short; otherwise, tie long and trim later on the water. Pro tip, tear, don’t cut, to look natural.
- To avoid bulky thread build-up, pull fibers back, unwrap 12 turns, then re-secure the bundle with three fresh wraps.
Adding Flash, Collar, And Cheeks
Flash, collars, and cheeks finish the fly with detail, movement, and realism. Here’s how to apply each:
- Flash (optional): Pinch a few strands, tie at the midpoint with one wrap, fold back the ends, and secure with two more wraps. Trim excess.
- Collar: Use bloodquill marabou (less fluffy than woolly bugger). Strip away fluff, tie in by the tip with three wraps, and palmer forward while pulling fibers back. Stop at the desired density and tie off.
- Cheeks/Eyes: Tie in a feather on each side so they align evenly. Fold stems back, secure with wraps, and trim. This adds a natural eye impression and boosts angler confidence.
Finishing The Fly
The final step ensures durability and clean presentation.
- Whip finish or half-hitch a few wraps.
- Apply a drop of superglue to secure.
- Remove the tube from the adapter.
- Trim tubing, leaving about 1 mm; save the offcut for another fly.
- Add a cone head if desired for weight and profile.
Final Thoughts
Ultimately, tube flies reward precision and patience. When tied with care, they offer unmatched versatility, durability, and performance on the water. The secret is in the details: keep proportions balanced, build volume without excess, and always select quality materials. Each fly you tie builds skill and confidence, and before long, these steps will feel second nature.
Ready to expand your fly tying knowledge and learn directly from experts in the field? Join the Anchored Outdoors membership and gain access to our full library of masterclasses, step-by-step tutorials, and exclusive resources designed to elevate your fishing and tying.