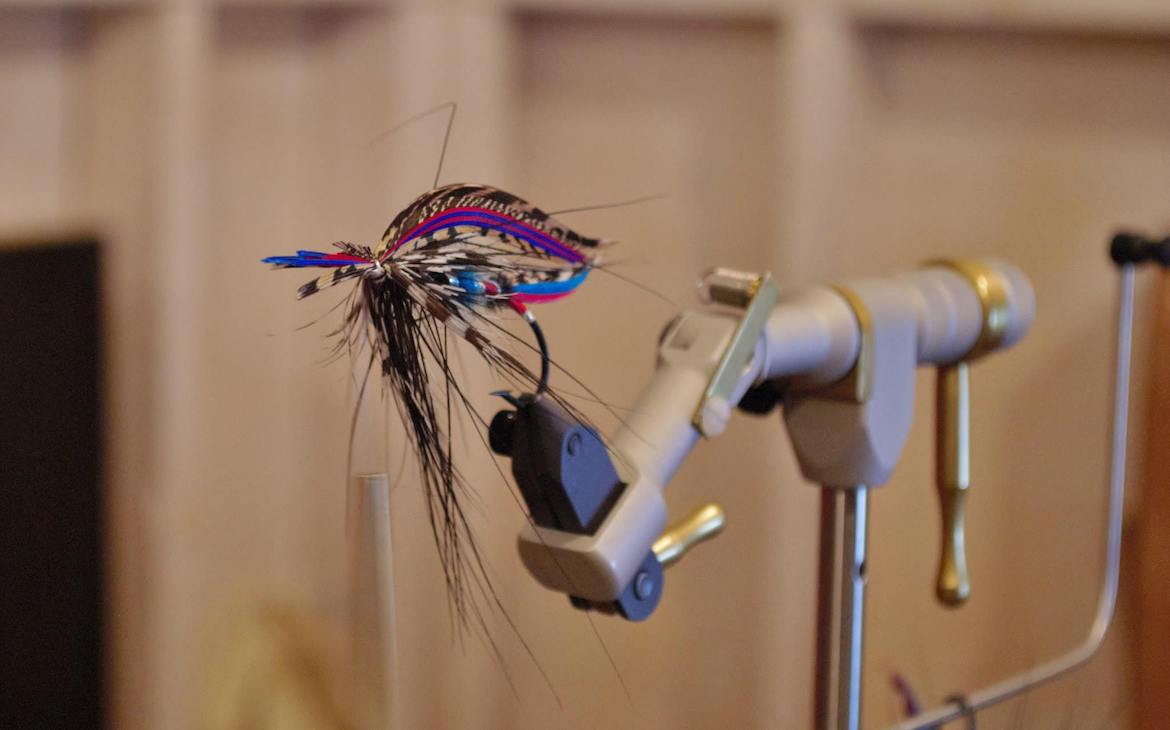
The Captain Walton is one of those classic salmon flies that reminds you why traditional patterns never fade out of style. It’s elegant, balanced, and full of purpose.
Every step in its construction teaches something valuable about control and proportion, which are skills that carry over to nearly every fly you’ll ever tie.
In this article, we’ll walk through Will Bush’s approach to tying the Captain Walton and see how each material works together to create a balanced, durable fly that stays true to the classic design.
Step 1: Forming the Gut Eye
Cut a piece of Dacron long enough to create a small soft loop. Tie both ends evenly along the hook shank, then trim the tips just in front of the hook point. Keep your thread wraps tight and side-by-side to form a smooth, even base.
Once the Dacron is secure, add a tiny drop of Zap-a-Gap or Crazy Glue to reinforce it. Avoid letting any glue touch the soft loop, as that will serve as your gut eye.
Step 2: Adding the Tip and Tag
Turn the hook upside down and tie in a short length of fine Lagartun tinsel on the underside. Wrap it back toward the barb and then forward again with clean, even turns. Tie it off neatly and trim any extra.
Next, tie in a small piece of crimson silk just behind the Dacron. Wrap it toward the hook point and back over itself to form a smooth, even tag. Tie it off and clip the extra thread to keep things tidy.
Step 3: Building the Tail and Butt
Gather your tail fibers and marry them before tying them into place. Once secure, take a strand of black ostrich herl, strip the end, and tie it in. Wrap it forward a few turns to form a small, defined butt that gives the fly a strong base and a touch of contrast.
Step 4: Shaping the Body
Tie in two separate pieces of tinsel, one flat silver and one oval silver, to use later as ribs. For the rear third of the body, attach a strand of crimson silk, wrap it back toward the butt, and then forward again for a smooth, even layer.
For the middle section, make a dubbing loop with blue seal fur, twist it, and wrap it forward to build a slight taper. Add a feather from either a black-dyed blue-eared pheasant or heron, tying it in by the tip so it runs neatly along the full length of the body.
Finish the front section using black seal fur in another dubbing loop. Wrap it forward carefully, leaving enough space near the head for the throat and the final materials.
Step 5: Ribs, Hackle, and Throat
Take the flat silver tinsel and wrap it evenly four or five times up the body. Then, counter-wrap the black hackle in the opposite direction to lock it down and tie it off. Finish by wrapping the oval silver tinsel forward, crossing over the hackle, and securing it neatly at the front.
Next, tie in a long guinea hackle by the tip and wrap it around two or three times to create a clean, even throat.
Step 6: Marrying the Wing and Adding Cheeks
Since the Captain Walton doesn’t use an underwing, move straight to the main wing. Marry the fibers carefully and pinch them into place with a few light loops of thread. Pull tight while keeping the butts aligned and the wing centered on the hook.
Next, add the sides and cheeks. Tie in a pair of matching jungle cock nails on each side, followed by two small Indian crow or substitute feathers. These should rest just over the lower edges of the jungle cock nails for a clean, layered finish.
Step 7: Finishing Touches
For the roof, select two matched mallard feathers of the correct length. Trim out small sections of 8–10 fibers from each feather and tie them in close to the stem on each side of the wing.
Finally, add a golden pheasant crest so that the tip aligns neatly with the end of the tail. Switch to black thread, build a smooth, compact head, apply a small drop of glue, and your Captain Walton is complete.
Final Thoughts
Ultimately, the Captain Walton is a perfect example of how traditional fly patterns continue to teach patience, precision, and respect for detail. Every turn of thread and choice of material has purpose, and by practicing this method, you’ll gain control and consistency that improve every fly you tie.
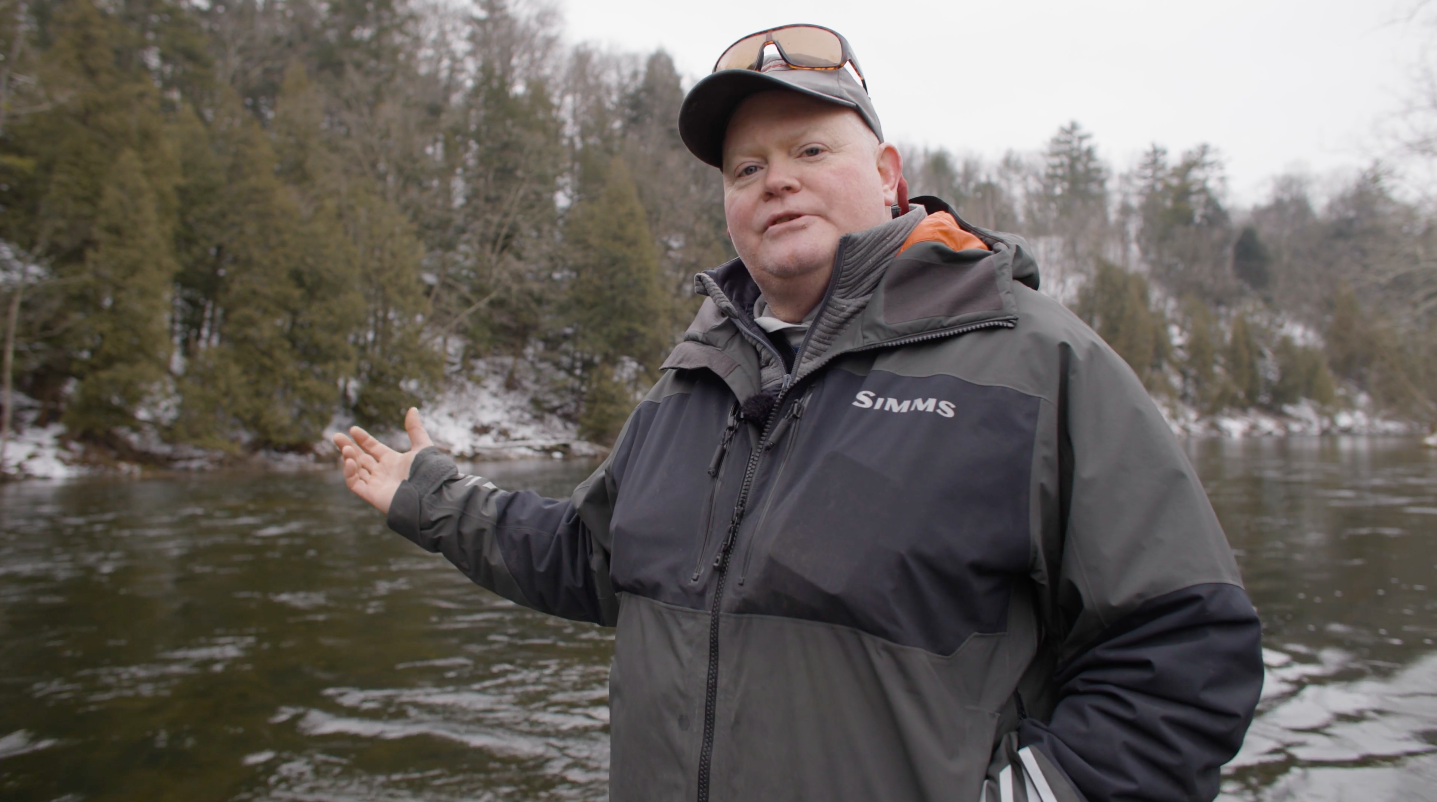
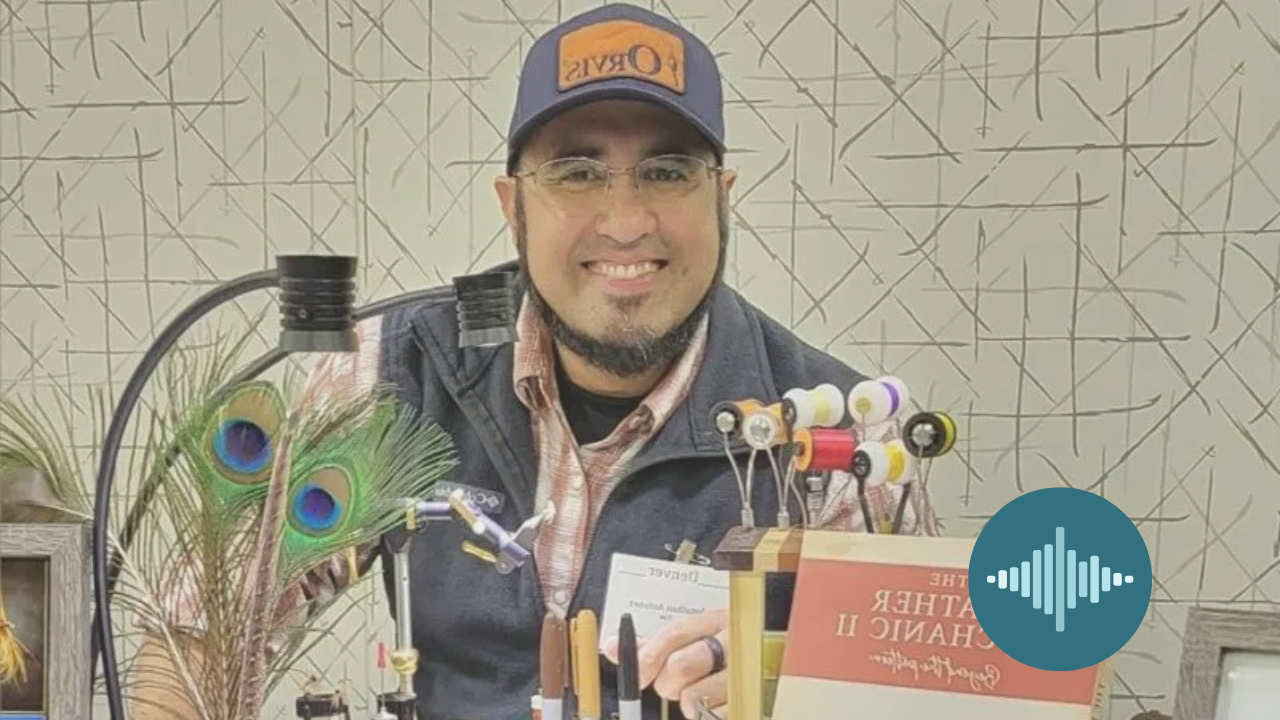
Want to see this technique in action? Will Bush walks through the Captain Walton step by step in his classic fly-tying class. You can unlock his Spey and Dee Flies mini-course for free and access even more fly-tying tutorials inside the Anchored Outdoors membership. Join Anchored Outdoors to start watching today.
We’ve been teasing that we’d be teaching a classic fly in one of our upcoming interactive members-only tying nights. Here is a brief glimpse at how to tie one.
Access Will’s course for FREE by becoming an Anchored Insider here.