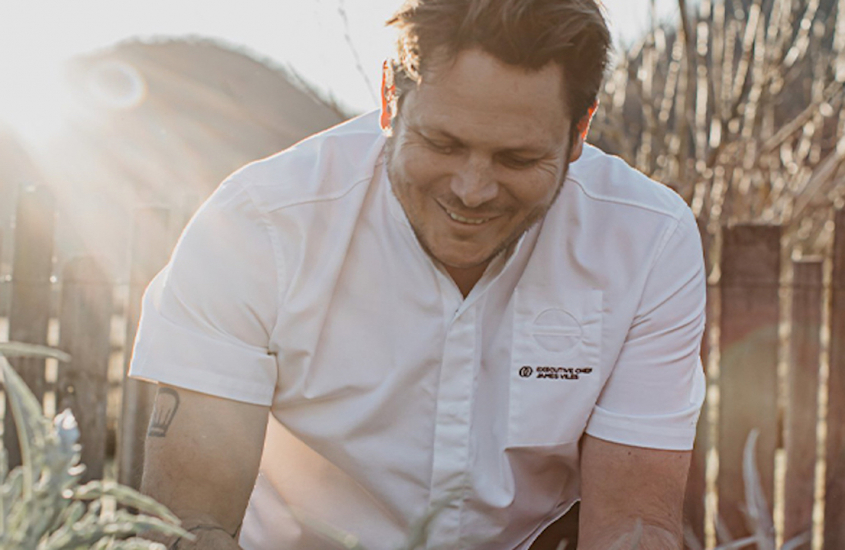
Have you ever wondered how to properly process wild venison to maximize flavor and quality? Understanding the right butchering techniques is key to ensuring the best taste and texture when cooking wild game. Today, we’re drawing from the expertise of celebrated chef James Viles to walk through the essential steps for processing and aging venison after a hunt. These insights will help ensure that you’re getting the most out of your harvest while respecting the entire animal.
Importance of Setting the Meat
One of the most crucial steps in processing wild venison is allowing the meat to “set” after the animal has been harvested. This step, often referred to as aging, lets the meat rest so the enzymes can break down, improving both texture and flavor. As Chef Viles emphasizes, you can’t just butcher the animal immediately after the hunt. Instead, you need to let the venison hang for at least a day or two, with many experts suggesting that wet or bag aging for up to two weeks can provide even better results. This allows the meat to reach its optimal condition before you begin cooking.
Field Dressing and Cooling
After a successful hunt, the first task is to remove the entrails quickly, which prevents spoilage and ensures freshness. This should be done within minutes of the kill. Following field dressing, allowing the carcass to cool naturally is important. Laying it on the ground, where the cool air from the earth can help reduce internal temperature, is a common practice. When transporting the carcass, leaving the skin on acts as a protective barrier against dirt and germs. Once ready to butcher, remove the skin to let cool air fully reach the meat to start the setting process.
Optimal Conditions for Processing
Timing is everything when processing wild venison. Chef Viles notes that the best time to hunt and butcher venison in Australia is during the winter, as the cooler weather naturally keeps flies away from the meat, reducing the risk of contamination. If processed in the summer, the animal and butcher would quickly be swarmed by flies, making it harder to maintain cleanliness. After the deer is hung, a muslin cloth or bag is typically used to cover the carcass while it rests, further protecting it from insects and dirt.
Butchering Techniques
Once the meat has set, the butchering process can begin. Starting with the proper cuts is essential for optimal use of the venison. The shanks are often prepared first for sausages or braising dishes, perfect for winter meals like stews and braises. Venison’s natural flavors shine through in these slow-cooking methods. Every part of the carcass is utilized, from roasts to sausages and salami, ensuring nothing goes to waste. Using the entire animal is a central principle of ethical hunting and processing.
Field Butchery vs. Butcher Shop Processing
Processing venison in the field differs from how it’s done in a butcher shop. While in the field, hunters often leave the skin on for as long as possible to protect the meat. After removing the skin, hunters may place the meat in bags or use the skin itself to pack it for transport. While this method is effective for field conditions, butchering in a controlled environment like a butcher shop offers more precision and cleanliness.
Conclusion
At the end of the day, processing wild venison isn’t just about butchering – it’s about respecting the animal and making the most of every part. Whether you’re hanging the meat to set, using the proper field dressing techniques, or ensuring each cut is used for the right dish, these steps will lead to a better final product.
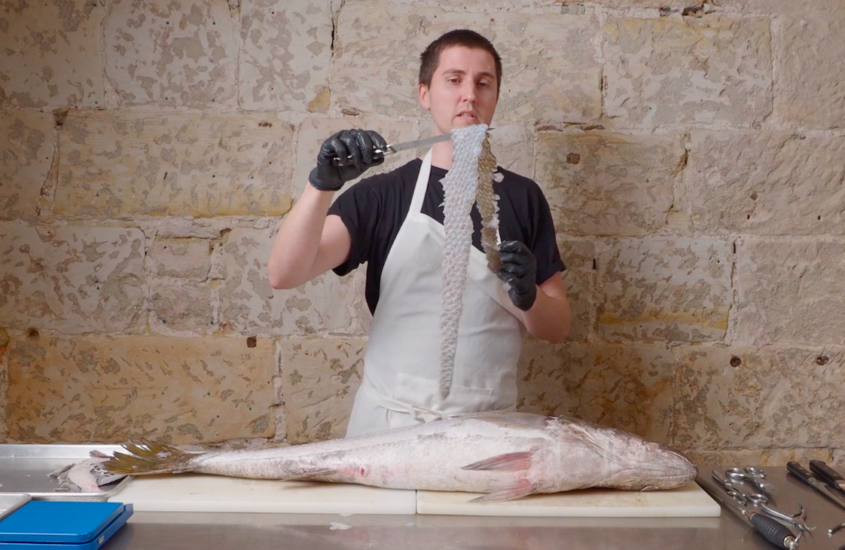
Want to learn more? Unlock the full class with expert chef James Viles at Anchored Outdoors, where he demonstrates how to process wild venison, including tips on aging and utilizing the whole animal. Plus, sign up today and get access to our bonus Whole Fish Butchery class with Josh Niland!