By Tiffany Bader:
The process of kneading dough with your hands, rolling it out and then shaping it, can be incredibly relaxing and therapeutic. A word of warning though, please don’t attempt to throw this together on a Tuesday night when you have toddlers running around underfoot or a soccer practice to a rush off to. It likely won’t be relaxing or enjoyable and you may never attempt this recipe again, which would be a real shame. Take my word for it, find a lazy Sunday, turn on some music, pour yourself a mug of hot tea or a glass of wine, roll up your sleeves and immerse yourself in the process. If you do it right, it’s meal prep and meditation all rolled into one.
Once you get this recipe under your belt, feel free to substitute any other greens you like for the nettles. Just use whatever is in season or what you like to eat and make the pasta your own.
I use all-purpose flour, plus some semolina in this recipe but you can omit the semolina if you don’t have it. The semolina gives a bit more texture to the pasta, which I love, but dough made with entirely all-purpose flour works very well, so do that if you prefer. If you can get your hands on Italian 00 flour, you can substitute that for the all-purpose flour. 00 flour is milled more finely than all-purpose and has a higher protein content. Protein means better gluten formation, which leads to better, chewier pasta. Just be aware that 00 flour will likely be “thirstier” than all purpose flour, so start with 1/2 cup less and add more if needed when mixing. Keep in mind that everyone’s flour is going to be different. Flour will vary by brand, the humidity in your kitchen and even throughout the seasons. So trust yourself and use your judgement when making the dough—you may need more or less flour than I’ve suggested here. Once you’ve mixed the dough, but before you’ve started kneading, you want your dough to be a cohesive mass that is still slightly sticky. Once you start to knead, toss additional flour on your table as you go if needed if it keeps sticking to your hands or the table. After about 10 minutes of kneading by hand, the pasta dough should be supple and elastic and bouncy to the touch. It shouldn’t be wet or sticky anymore when you are handling it.
The only source of moisture in the dough is eggs, and a lot of them at that. It leads to a deeply yellow dough that is very high in protein. By adding additional fat or non-protein rich liquid like water, you just end up shortening gluten strands and reducing the stretchy/elastic capability of the dough. An elastic and thin dough will be perfect to hold together the delicate and soft filling.
Pasta Dough Ingredients
- 2 1/4 cups of all-purpose (AP) flour
- 1/4 cup semolina flour (you can just increase the AP flour to 2 1/2 if you don’t have semolina)
- 3 whole large eggs
- 4 egg yolks from large eggs
- 2 teaspoons sea salt
- Additional AP flour for kneading and rolling if needed.
- Tortelloni Filling Ingredients:
- 400g ricotta
- 115g chopped blanched nettles, drained of liquid
- 115g finely grated fresh parmesan
- 1 large egg
- Generous pinch fresh ground black pepper.
- Couple of grates of fresh nutmeg (optional).
Method
Measure all of the dry ingredients into a bowl and stir to combine. Pour the mixed dry ingredients directly onto a clean counter top and make a well or hole in the middle of the pile. Crack and separate the four yolks into a bowl and reserve the whites for another use. Crack the remaining three whole eggs into the same bowl and mix well with a fork or whisk.
Pour the eggs into the well (hole in the center of your flour) and with a fork slowly combine the eggs into the flour. You should do this slowly, incorporating a little bit of flour at a time, in case you don’t need to use all of the flour. You will get to a point where the fork just isn’t going to combine the flour and eggs together well anymore and at that point use your hands to continue mixing the dough.
Once you have a semi-cohesive mass you can start kneading. Add additional flour as needed to prevent the dough from sticking to your counter too much. Go easy though, as you can always add more flour to the dough as you knead, adding liquid to an overly dry dough is much more difficult. If you have added too much flour and the dough is crumbly, spritz a bit of water on the outside to moisten it. Knead the dough by hand for about ten minutes or until the dough looks uniform and is bouncy when you press your finger into it.
Wrap the dough in plastic wrap and set aside in the refrigerator for at least an hour to let the gluten relax before rolling through in the pasta machine. If you are in a rush, you can roll it out immediately, but it’s much easier to roll the dough if you have let it rest for a bit, and the texture will be better as well. You can leave the pasta for longer until you roll it, up to a few days.
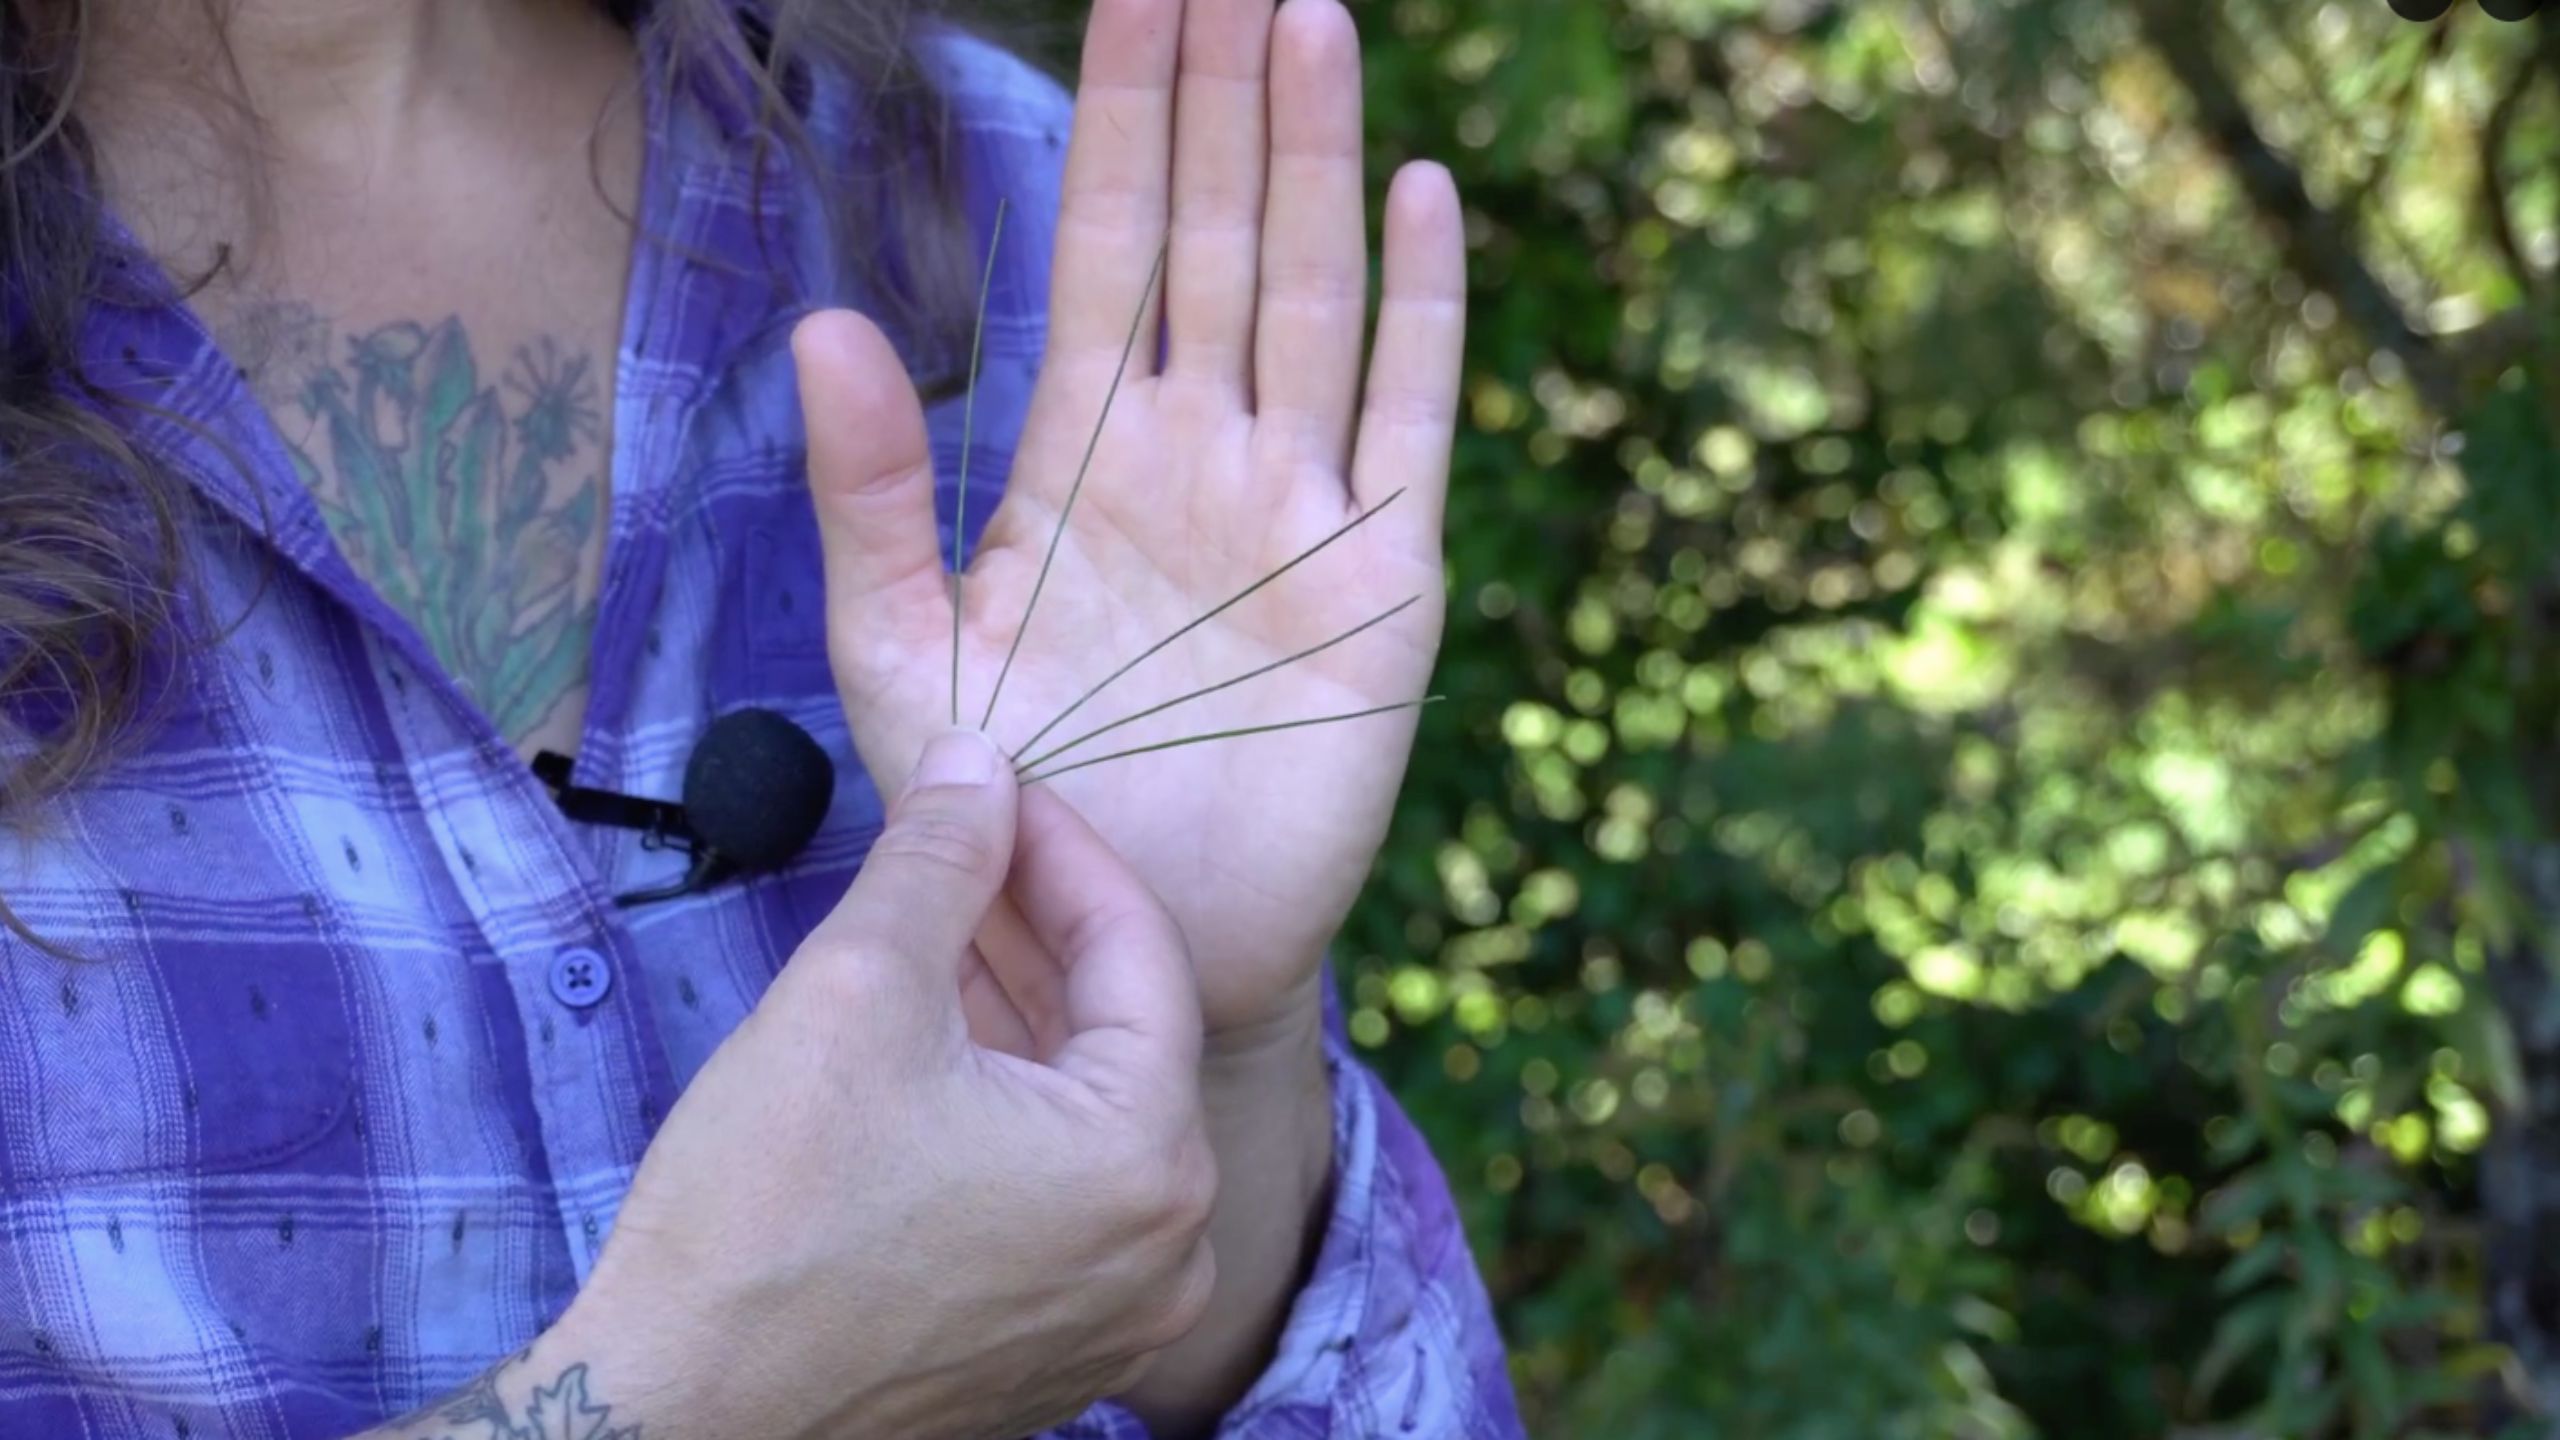
Nettles
When picking and handling fresh nettles, it’s best to use gloves to protect yourself from the stingers. Trim the nettles of any leaves that aren’t tender and fresh. It’s best to use the top two sets of leaves on the plant to help ensure that the nettles won’t be stringy or tough. Wash the nettles in lots of fresh cold water to remove any sand or bugs. Set a large pot of heavily salted water on to boil. Once the water is at a rolling boil, toss the nettles into the water to cook. After they have cooked for two minutes, strain the nettles and immediately plunge them into a large bowl of ice water. The ice water will set the bright green color of the nettles and stop the cooking process. Once the nettles are cold, remove them from the ice bath. You can safely handle them with your bare hands without worry of being stung now that they are cooked. Drain the nettles and press out all excess water. Chop well and set aside.
Filling
Put the ricotta, chopped nettles and grated parmesan in a bowl. Crack the egg into a small bowl, and mix well with a fork. Add the egg to the other filling ingredients and mix to combine. Add a generous pinch of freshly ground black pepper and a few grates of fresh nutmeg if you desire. Give the filling a really thorough mix to make sure that everything is well combined. Set the bowl aside until you are ready to fill your tortelloni. Learn how to make your own ricotta here!
Rolling & Shaping the Dough
After your dough has had a chance to rest, set up your pasta machine. Alternatively, you can roll out your dough by hand with a rolling pin or a wine bottle if that’s all you have on hand.
Toss a bit of flour on the dough and roll it through on the largest setting (number 1) on the flat pasta rollers. Fold the dough in thirds once it has rolled through once and press together. Turn the dough 90 degrees and roll through again on setting 1. Repeat the folding process, turn 90 degrees and roll through one last time on 1 setting. You only need to do the folding in thirds routine when you first begin on the number 1 setting. Toss more flour on the dough as needed to ensure that it doesn’t stick to the rollers or your hands too much. You don’t want your pasta sticking together after you’ve rolled it out so you can be generous with the flour here. If you find that you have used too much flour, you can simply shake or brush off the excess.
Turn the setting down to 2 and roll the pasta sheet through again. Dust with flour if needed and continue rolling the sheet down each setting until you get to number 6. If the sheet of pasta gets too long and unwieldy, just cut it into smaller, more manageable pieces. Toss flour on the additional pieces and set aside. Once you get to number 6 if you can hold up the dough and see your hand through it, you’ve gone far enough. If the dough is easy to handle and it’s still a bit too thick, roll it again on the 7 setting. Thinner will give you a more delicate end product, but it will be a bit more difficult to work with. Go to whatever thickness you are comfortable working with.
Lay the sheet(s) of pasta on your work surface and begin cutting into circles with a round cookie cutter that is at about 3 inches diameter.
Once your circles are all cut you can take the leftover dough and re-roll out into a sheet again and cut more circles. As you are cutting the pasta into individual circles, make sure that you are covering the dough with a towel so that it doesn’t get dried out.
Take a small spoonful of the filling mixture and place into the center of the dough. This will take a bit of trial and error to figure out the sweet spot for the quantity of filling. You want to fit as much as possible in the pasta, while still able to close and seal it, without the filling oozing out of the seam. Set up a small dish of water beside you, and before you begin the seal the tortelloni, dip your fingertips in the water and gently apply a small amount of water around the outside rim of the pasta. You are doing this so that when you fold your pasta in half to seal it the wet areas of the pasta will stick together and seal. Gently fold the pasta over the filling to make sure you aren’t trapping any air pockets inside. Then take each end of the folded circle and press together in the middle to make the tortelloni.
Toss a thin layer of semolina or flour on a sheet pan and place the finished tortelloni on the pan. The flour will prevent the pasta from sticking to the sheet pan. Place a tea towel on top so they don’t get dried out as you work.
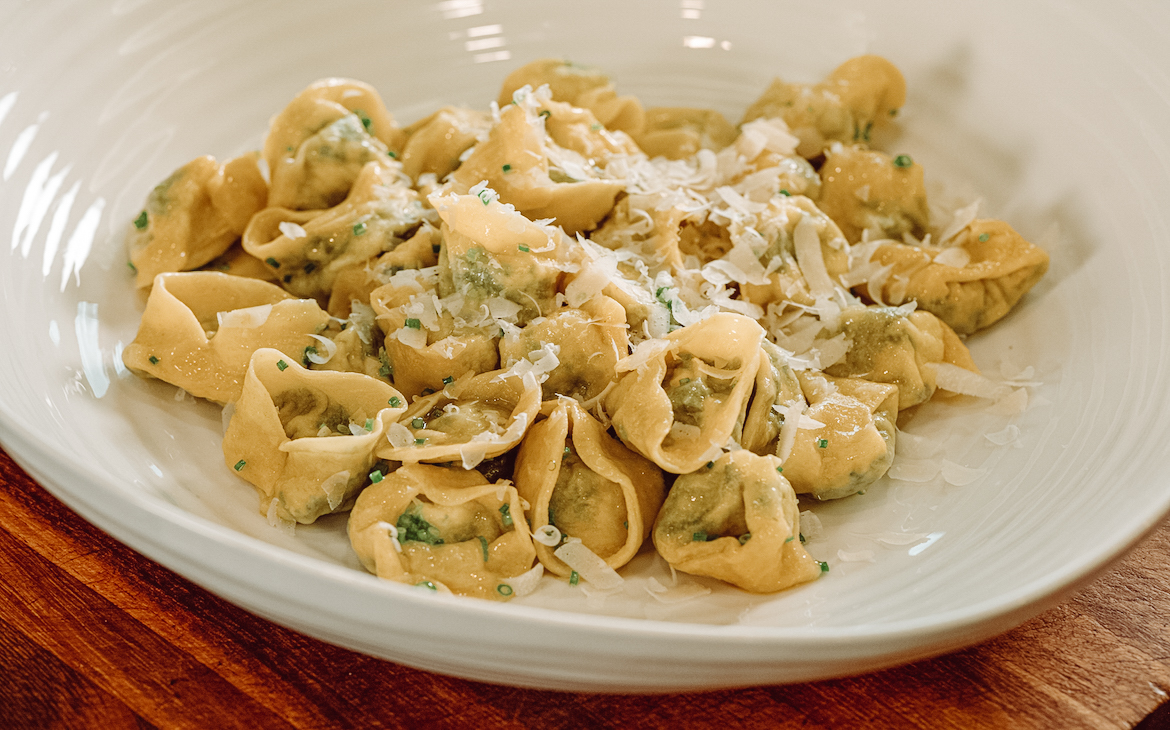
When you are finished shaping the pasta and ready to cook, put a large pot of heavily salted water on to boil. Once boiling, gently add the pasta and cook only for a couple of minutes maximum. Turn down the temperature so that you don’t agitate the pasta too much and break them as they cook. Fresh pasta cooks very quickly, so taste to make sure you cook it to your liking. Gently strain the tortelloni and serve simply with melted butter and grated Parmesan and fresh herbs. If you prefer, you can use olive oil or another light sauce but keep it simple so you don’t mask the delicate flavors of your pasta.